

Now you all know my Chalk Paint came last week. I immediately got down and dirty.
*CAUTION~Long post ahead

Louis Blue and Clear Wax
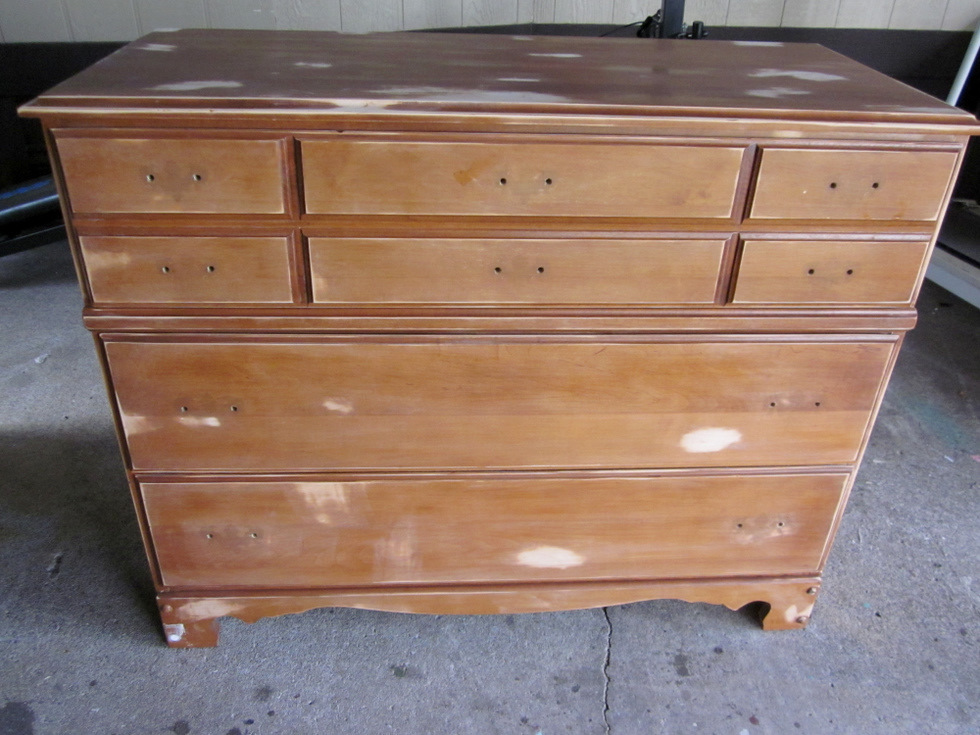
Here's my first project. A vintage child's dresser I found at Goodwill. I forgot the before picture, but just picture the usual reddish stain with candle wax stuck to the top and in the inside of the drawers and you get the basic idea. I actually primed this piece. Annie Sloan does say you don't have to prime when using this paint but it was a well used little piece with quite a few stains and I had to sand due to the wax. It was quite thick in some places but smelled good when I sanded! I could smell it through my mask. Maybe that means I need a new mask.


I also had to take the time to prime and paint (using regular latex paint) the inside of the drawers, thanks to the candle wax and other mystery stains. It just helped freshen the whole piece. No pricey Chalk Paint on the inside I am afraid!

Project #1 down!

On to project #2

Aubusson and Clear Wax
Alright. Now I know I told you primer wasn't necessary, however, when working with pressboard, that has some swelling and needs some serious sanding, I decided once again to bring out the sander and primer. I wish all my pieces could be top grade wood with no issues, but alas, it's not to be. So, I sanded, I primed and I added 2 coats of Aubusson Blue. I have read this paint is supposed to stretch really far but I had to use 1/3 of the can on this baby. It had a lot of sides and nooks and crannies to it and it just seemed an endless job.
*please excuse the cardboard and miscellaneous bits and pieces in the background! A girl has to work where she can and doesn't always have a pretty display place available. Not to mention who wants to haul this stuff around unless they have to. As for the flowers, things just look better when staged with a pretty jug of pink blooms!

But I thought it turned out pretty well, all things considered. I actually distressed after the first coat to see what it would look like but didn't like it on this particular piece. I did 2 coats of wax since it's a desk and it's possible it could see heavy use. I still need to find some new knobs before it's finished. It came fully furnished with eagle knobs. NOT my thing. I'm thinking clear glass/crystal.
Project #3

Old White undercoating, Duck Egg on top, Clear Wax, Dark Wax
This time, NO PRIMER! Just a bit of minor sanding on a couple scratches that were bugging me. I straightaway slapped on a coat of my Old White. Once again, it dried fairly quickly. I was outside this time but it was warm out. By the time I finished with the white, the first pieces were dry and I was able to paint right over it with the Duck Egg blue. I LOVE this aspect of the Chalk Paint since I can be a wee bit impatient.

The next day I added the clear wax. It dried fast again because it was warm and breezy out. I buffed it out and added the dark wax. Problem. I should have done more research before I did this step. Once it's on. It's on. I guess you're supposed to apply the clear wax, then the dark, wiping away any dark you don't want left on. Then letting it dry before buffing it out. I buffed after each wax instead of applying both waxes and only buffing once. Live and learn. I hadn't intended to make it look so heavily antiqued but am liking the look more and more as the paint settles.


Yep, I think I'm loving it.

Project #4
A WIP
Work in progress
No primer, straight paint on wood. You can see I once again had the sander working out some scratches.

Duck Egg
I'll add another coat to the legs and I'm thinking about doing the top in Old White, I haven't decided yet.
The whole thing will get distressed though and I'll probably try the dark wax again, more carefully.
The whole thing will get distressed though and I'll probably try the dark wax again, more carefully.
Now to the nitty gritty...
The PAINT
1. The Chalk Paint went on great. It covered well and and was creamy and easy to use
2. It had NO odor. I didn't realize how great this was until I went back to the regular latex paint to cover the inside of some drawers. The stink made it apparent how nice it was not to be breathing those fumes while using the Chalk Paint
3. I read this paint doesn't leave brush strokes. It did for me. Especially when painting large surfaces like the dresser sides and top. I normally use a 1 1/2 inch angled brush and with a brush that small, it's really hard to create an even surface when the paint dries so fast. So I used the small brush for the Old White, sanded after it dried on the top and sides then when it came time to add the blue I used a big 4 inch brush. It covered much better and I will probably do that from now on. I might use the bigger brush with regular paint too from now on. I have to say I don;t actually mind the brush strokes anyway, I'm used to them and like the shabby handpainted look they give to furniture.
4. The paint does thicken if you leave the lid off, so if you're painting a lot of pieces try to keep the lid on as much as possible. It's nice that you can just add water if you need to "unthicken" it.
5. Distressing. I ran into an issue here. Annie Sloan says to wax and then distress. I don't recommend this. It is SO MUCH easier to distress BEFORE you add the wax. The paint comes off really easy, in a powder form and is easy to control. If you add the wax and then distress, it makes it harder to get the paint off. It's mostly wax that comes off on your sandpaper and you go through a LOT of it. I went through a sheet and a half on the dresser. Not fun. Another lesson learned. Distress first. Wax second.
The WAX
1. The wax was harder for me to use. I ordered the Annie Sloan Waxes in the clear and the dark. They have brushes they sell and recommend you use with their waxes. I think I agree that you should. Or buy something similar. My Stockist was out so I couldn't get one. I used a rag and I had a lot of waste with the clear wax. A LOT of waste. I used nearly half the can on 3 pieces. I am sure I coated it too heavily since I used the rag and it should have stretched much much farther.
2. I actually didn't notice much difference in the way the Annie Sloan Wax worked and the regular Johnson's Paste Wax I have used previously. I will be sticking with the Johnson's from Home Depot when the Annie Sloan Wax runs out. I can't see putting out the extra $20 plus for something I hardly notice a difference with.
3. The dark wax was trickier. I've never used it before and will have to play with it some more. I need to get a brush of some sort though. I think you have much better control of where the wax goes. This wax went much further and will last me a long long time I think. I barely broke the surface.
4. All the pieces do need to be sealed with wax or the paint will scratch up and rub right off. This does add a bit of extra time and if you don't like waxing, this may not be the paint for you. But then again, who DOES like waxing?
5.. Annie Sloan also recommends you let your wax dry overnight. I know I told you my wax dried right away but it was pretty warm outside and I was able to buff it right away. When I added my second coat to the desk it was colder and took longer but I still didn't wait overnight because my bigger pieces sit under a carport and get covered at night. I was worried the cover might mess up the wax, so I buffed it out.
Overall, I really enjoyed using this paint. It was fun to try something new and it was a breeze to use. I will probably save it for "better" pieces or things I want to heavily distress since it's expensive but it distresses so nicely. I need to make sure I can recoup the expense on my pieces I sell before I order any more. I do have my eye on a gorgeous green however and those brushes I was telling you about are mighty tempting!
I am no paint expert, just a novice, so I have a lot to learn and there are a lot of great painters out there sharing their techniques. One is Miss Mustard Seed. You can find a great wax tutorial here. Another is Shaunna from Perfectly Imperfect. She has 2 great Chalkpaint tutorial videos here. I would definitely recommend trying the Chalk Paint if you can afford the splurge!
I think it's really neat everyone is so willing to share information and tips. I hope you weren't thoroughly bored! I'm assuming if you weren't interested, you tuned out long ago.
I hope you found this helpful, or just plain entertaining. Have a wonderful week. I may take tomorrow off before I pick up another paintbrush and then... Wax on wax off. Wax on wax off...

22 comments:
Good Morning Sares,
thanks for the honest opinion of the chalk paint. I also appreciate the photos and the explanations of your appplications and techniques.
I still haven't ordered any, and I'm thinking about it.
I love all of the pieces that you have transformed. I really like how the dresser turned out.
hugs
Sissie
Oh boy Sares you have been busy...love all the projects, but the blue desk really grabbed me. You are becoming quite a talented makeover artist!!
Warmest hugs,
Sandi
Good Morning Sares
Well, you sure did promise a long post:) And, I loved every minute of it. The pieces look fab and I love the colors that you chose for them. Also, thanks for the details and run down on the technique - what a help!
Enjoy your day and that lovely jug of blooms!
Leann
Thank you for the tips, Sares! LOVE that last table!!!
xxoo
Great GREAT Post Miss Sares! Loved reading the pros and cons! Helped me more than I can say!
xoRebecca
fabulous transformations on these charming pieces. I also appreciate the tips, thanks !!
This was very good info. Thanks for sharing. Your pieces are all gorgeous!
Hi Sares, oh WOW! I think EVERYTHING came out beautiful, I love the desk that color is awesome. I also like how you give us all the ins and outs...I may like to try chalk paint sometime but I'm going to start with a smaller project. When it comes to refurbing furnishings, I'm good with sanding, staining and glossing but paint... not so sure, you make it look easy though. Thank you for visiting me when I was gone, I'm so glad to be back, I have a ton of catching up to do. Have a super week! hugs, Jennifer
Wow! Busy girl. Thanks for all the tips and techniques! I love project #3! You can send it my way if you'd like! lol Great job on all of them!!!
Hugs,
Rebecca
Hi Sares,
I love the transformation of all your wonderful pieces.
They have all turned out so well and I am sure they will sell really fast.
Thanks for all the helpful information you have shared.
Hope that you have a lovely week
Hugs
Carolyn
WOW you sure have been busy. I love all your paint projects..just beautiful. Duck egg blue is my fav.
Great painting job on the furniture, Sares. Thanks for sending the goodies. Take your time....Christine
Sares that was GREAT information! I'll definitely order the paint but pass on the wax. That saves a ton so I'm really thankful for your review. And the finish on piece #3 is gorgeous!! I just LOVE that color!! I hope I can duplicate it myself *winks* Got any sun down your way? I'm hoping to come to Centralia this weekend *winks* Vanna
They all look great, but the dresser was my favorite! Thanks for all the CP info, too!
You have been busy! Thanks for sharing your impressions of the chalk paint. I did not realixe you were suppose to wax first and then distress. I did both of my pieces the opposite.
Thanks for sharing I just got two quarts in the mail I'm so glad that you took the time to give us the lowdown on the wax. It seems you will either love or hate it. I didn't buy any wax I'll stick with the the Johnson's Paste Wax for now. Looking forward to seing more of your work!
Hello Sares,
God bless you for having the patience to work on these amazing projects! Great work, and thanks for sharing for the chalk paint tips. I'm such a lazy painter, I never wax the pieces. But I don't mind them chippy and peeling. :)
Take care,
Susan
Well, I'll be! You have bloomed right where you are planted. You are doing some amazing work girlie. I love all of it and I'm proud you tried and look at the outcome! Keep going...the furniture world may be your oyster!
My goodness! You have makeover madness. Everything you made over is just gorgeous. :)
Wow sareski! You sound like an Interior Designer here! I used to study Interior Design! And this is what I used to sound like! HA!
I like the duck egg color... I think I like it because it's called "duck egg" and isn't that a very fun thing to name a paint color!??
Alas... you MUST tell us what kind of flowers those are...the ones sitting atop all of your projects! Because those flowers are so pretty! What kind are they? :)
Bells
Great post on the chalk paint...and beautiful pieces. I do really like the top with the dark wax. Adds a lot of patina. One note about the wax - DO use a brush to apply....it makes a ton of difference and when using the dark over the clear...use sparingly and then if you have too much dark on put a bit of clear back on and you can wipe the dark back to the point where you like it. For all those who would like workshops using the chalk paint, there are stockists in most states now giving chalk paint parties...ummm...workshops. It really is worth the $ and you learn different techniques using the paint other than simple distressing. Plus, so much fun! And I say this not because I'm a stockist but because I have been a painting contractor and decorative painter for over 15 years, and have used lots of different paints. In my studio I only sell the best andthis paint is! Check to see who your nearest stockist is. Most of us have everything in stock and are keeping a bigger inventory now.
Hi Sares! I just had to stop by and thank you for this post. I vageuely remembered reading it last summer and just came back to refer to it when I ran out of my Annie Sloan clear wax. I didn't want to spend another $25 and was hoping there was an alternative. Guess what? I found a jar of the Johnson wax in my garage! My husband had bought it to try on our hardwood floors some time ago (which turned out to be a bad idea). You just saved me money and a trip to Home Depot! Yay! Back to work...just had to say thanks!
Best Wishes and Blessings,
Amanda
Post a Comment